A successful LED sign installation depends on more than the face material, lamp type, or stated voltage: the site, structure, electrical design, weather protection, readability, and maintenance plan must work together. By the end, you will be able to compare sign formats, prepare a site-specific brief, identify unsafe specifications, and check an installation before it is commissioned.
Key takeaways
- Record sightlines, dimensions, load paths, cable routes, and service access before ordering.
- Match pixel pitch, brightness, viewing distance, and sign format to the site.
- Provide dedicated protection, earthing, isolation, and correctly rated electrical circuits.
- Specify weatherproofing, drainage, maintenance access, structural fixings, and acceptance tests.
What should you inspect before ordering an LED sign?
Before ordering, verify that the proposed location gives the sign a clear sightline, a sound mounting surface, safe service access, adequate electrical capacity, and written permission. A site assessment should record photographs, dimensions, load paths, cable routes, and the viewing distance from the main approach, not rely on a floor plan.
1. Measure viewing distance, obstructions, mounting height, and viewing angle. Check trees, balconies, parked vehicles, streetlights, and sun glare during operating hours. Confirm that letters or display content remain readable from the intended approach.
2. Inspect the facade condition for cracks, loose render, corrosion, water damage, insulation systems, and concealed services. Ask an engineer to verify the substrate, anchor type, edge distances, and corrosion protection; wind load on the complete sign assembly can create a dangerous wall moment even when its dead weight seems acceptable.
3. Check wind and rain exposure, including the direction of driving rain and areas where water could collect behind the sign. Trace a service route from the distribution board and record voltage, spare circuit capacity, earthing, isolator position, cable length, and weatherproof junction-box locations.
4. Confirm access for installation and repair without blocking entrances or requiring lifting equipment for every module. Specify removable faces, accessible power supplies, and safe isolation points.
5. Obtain written building-owner approval and municipal advertising permission covering location, projection, illumination hours, and mounting method. Check separate electrical, fire, heritage, traffic, and structural approvals where they apply.
Do not release artwork or fabrication until these findings are signed off. A bright, well-built sign can still be unusable if it cannot be serviced, cannot withstand wind, or must be removed.
How do you choose the right sign format and visual specification?
| Sign format | Best fit | Visual specification | Main trade-off |
|---|---|---|---|
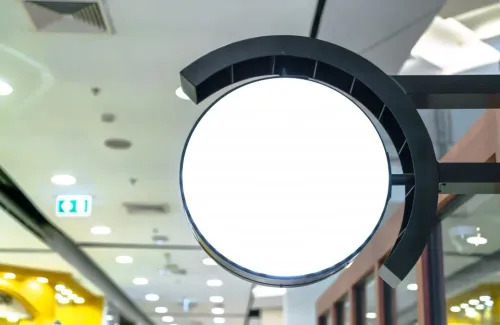
| Static LED-lit sign | Shopfronts, offices and hotels with fixed names or logos | Size it for the longest approach; use a clear logo, strong colour contrast and a letter height readable from the entrance or driveway | Low power and maintenance, but every content change needs physical replacement |
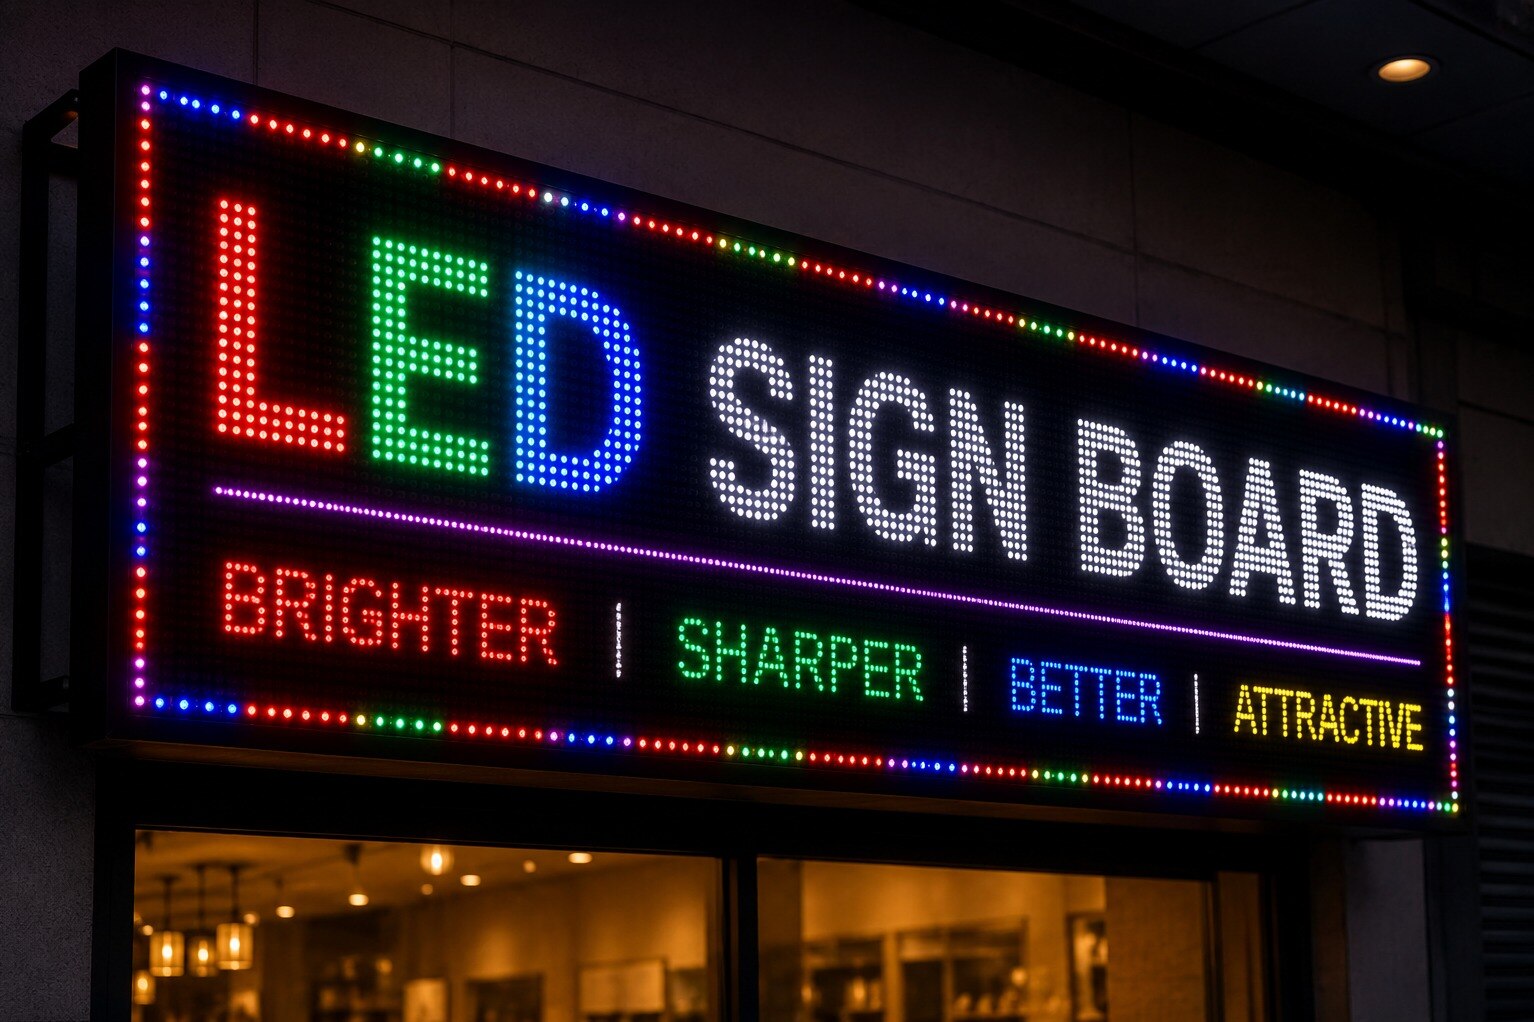
| Digital LED display | Promotions, parking guidance, roadside messages and frequently changing content | Choose cabinet dimensions, wide viewing angle and pixel pitch from the farthest decision point; add automatic brightness control | More content flexibility, power use, heat and maintenance |
| Compact digital display | Close-view counters, lobbies and reception areas | Use a finer pixel pitch only when viewers stand close enough to see detailed text or graphics | Higher resolution costs more without improving distant readability |
Start with the farthest point where a driver or pedestrian must read the message, then set the sign dimensions and letter height from that distance and the mounting height. A roadside sign needs larger characters and a wider viewing angle than a shopfront sign viewed straight on.
Keep the message short; extra words demand larger letters or a slower display.
For a digital LED display, a first estimate puts minimum viewing distance in metres close to pixel pitch in millimetres: a 6 mm pitch suits roughly 6 m as a starting point. Comfortable detail viewing often needs several times that distance. Check the result against text size, camera use, viewing angle and controller scaling.
Use higher brightness outdoors, but specify automatic dimming to prevent glare; use high luminance contrast between text and background, not merely saturated colours.
What electrical provisions make the installation safe and reliable?
Match the sign to the building supply before selecting any protection. Confirm the incoming voltage and phase, then use a driver or power supply whose input rating matches that supply and whose output matches the LED modules. Never connect low-voltage modules directly to mains voltage.
Calculate the sign’s measured worst-case load, including startup and hot-weather operation, rather than multiplying one module’s printed wattage. Select the power supply with about 20–30% practical reserve; extra capacity cannot correct poor ventilation or undersized wiring.
Use this electrical checklist:
- Feed the sign from a dedicated circuit sized for the calculated load, cable length, installation method and ambient temperature.
- Fit an appropriately rated MCB isolator for overcurrent protection and safe local disconnection. Add residual-current protection where the building rules or electrical design require it.
- Connect every conductive cabinet and frame to a documented protective-earth conductor. Do not treat a metal mounting frame as proof of earthing.
- Install surge protection where outdoor cables or exposed wiring could carry lightning-induced or switching surges.
- Protect cables from abrasion, water and accidental impact; use weatherproof junction boxes and sealed cable entries.
- Follow the manufacturer’s maximum run length and wire-size limits. Use power injection points or separate branch circuits when voltage drop requires them.
- Measure voltage at the farthest operating LED module, not only at the power-supply output.
Have a qualified electrician test insulation, polarity, earth continuity, residual-current operation and voltage under load before handover, following applicable Indian and local electrical rules. Label the circuit and isolation point for maintenance.
How should the enclosure handle rain, heat, condensation, and maintenance?
Use a corrosion-resistant aluminium enclosure with sealed, gasketed doors and an outdoor ingress rating of IP65 for the tested configuration. IP65 means dust-tight and protected against water jets; it does not permit immersion, and it does not automatically protect cable glands, service doors, rear power supplies, or ventilation openings.
IP20 is for dry indoor locations, not exposed outdoor signage.
Design the enclosure so rain exits instead of collecting. Provide sloped ledges, drip edges, bottom drain holes, and downward-facing cable entries fitted with compression glands and strain relief. Sealant around an unsealed cable hole will crack, trap water, and conceal the failure. Prevent water from pooling behind acrylic faces or inside bottom rails.
Control internal temperature with an aluminium heat-spreading surface and adequate heat dissipation. Do not mount power supplies directly above hot LED modules. Use a tested weatherproof vent or pressure-equalisation membrane where passive airflow is needed; random holes destroy the enclosure rating.
Specify LED and power-supply performance at the actual case temperature, then derate output if direct sun raises the enclosure temperature.
Check these service details before approval:
- Leave enough front or rear clearance to remove modules, drivers, and power supplies without dismantling the sign.
- Keep service doors gasketed, latched, and accessible from a safe platform.
- Provide separate drainage paths for condensation and inspectable low points.
- Use UV-stable acrylic, exterior-grade film, and adhesives rated for outdoor exposure.
How do you specify the structure, installation method, and final acceptance checks?
Design the support for the actual wall or facade, not the sign’s dead weight alone. Calculate wind load on the projected area of letters, cabinets and supports, then check the resulting bending moment, edge distances and corrosion exposure. Record these assumptions on the fabrication drawing.
For brick, concrete, ACP or glass mounting, inspect the substrate behind the finish before anchor selection. Specify the anchor type, embedment, spacing and pull-out capacity; use an engineered clamp or secondary frame for glass rather than drilling it. Confirm the arrangement against the National Building Code of India and local approval conditions.
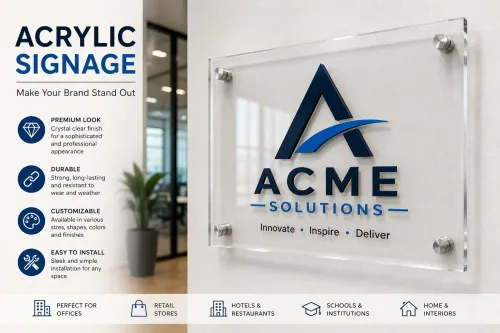
Allow acrylic faces to expand through slotted or oversized holes, without overtightening fasteners.
- Verify the installed dimensions, projection, level, plumb and clearance against the approved drawing.
- Photograph every anchor, bracket, weld, cable entry and protective coating before concealment.
- Record torque or pull-test results where specified, plus the anchor batch and installer details.
- Test protective earthing, isolation, residual-current protection and weatherproof cable entries with a qualified electrician.
- Run the sign through full-brightness, dimming, restart and hot-operation checks; test it on the intended phone and CCTV camera.
- Hand over marked-up drawings, test readings, maintenance access instructions and written approval records.
Ask Pantone Media Solutions LLP to include this evidence pack in the handover rather than treating a lit sign as proof of secure installation. A later cosmetic inspection cannot reveal an under-embedded anchor or an untested earth connection.
Related products
 | Outdoor LED Sign Board Usage Outdoor Voltage 110V ~ 220V Material Acrylic Lighting Type LED We have highly acknowledged organization engaged in presenting a remarkable... View product → |
 | Promotional LED Sign Board Material Aluminum, Acrylic Shape Rectangle Power Consumption 12V-48V Installation Wall mounting Thickness 20-50 mm We are one of the most... View product → |
Frequently asked questions
What should you inspect before ordering an LED sign?
Check the viewing distance, sightline from the main approach, mounting surface, structural load path, service access, cable route, electrical capacity, and written permission. Photograph and measure the site instead of relying on a floor plan.
How do you choose the right LED sign format and visual specification?
Choose the format based on available wall or freestanding space, viewing direction, content, and viewing distance. Specify pixel pitch, brightness, colour performance, dimensions, and refresh rate for the intended audience and environment.
What electrical provisions make an LED sign installation safe and reliable?
Provide a dedicated circuit with correctly sized cabling, protective devices, isolation, earthing, surge protection, and accessible controls. Confirm the supply capacity and cable route before fabrication.
How should an LED sign enclosure handle rain, heat, condensation, and maintenance?
Use an enclosure rated for the exposure, with sealed cable entries, drainage, ventilation or thermal management, corrosion-resistant materials, and access panels. Keep power supplies and service points reachable without unsafe dismantling.
What should you check during final LED sign acceptance?
Check alignment, fixings, illumination uniformity, brightness settings, content playback, colour performance, cable protection, earthing, drainage, access, and operation of the isolation switch. Record defects and test results before handover.
Related products
 | Directional Sign Board Lighting Type LED Shape Rectangle Operating Temperature -25Degree-55 Degree We are one of the most reliable companies in this domain and are into... View product → |
 | Commercial LED Board Body Material Ceramic Color Full Colour Pixel 10mm Lighting Color Cool Daylight Type of Lighting Application Commercial/Outdoor Lights In order to... View product → |
 | Exit LED Sign Board Bulb Type LED IP Rate IP20 In order to keep pace with never ending demands of the customers, our company is instrumental in offering Exit LED Sign... View product → |
 | Sign Board Lighting Type LED Shape Rectangular Power Source Electric Body Material Aluminium Owing to the rich industrial experience and expertise in this... View product → |