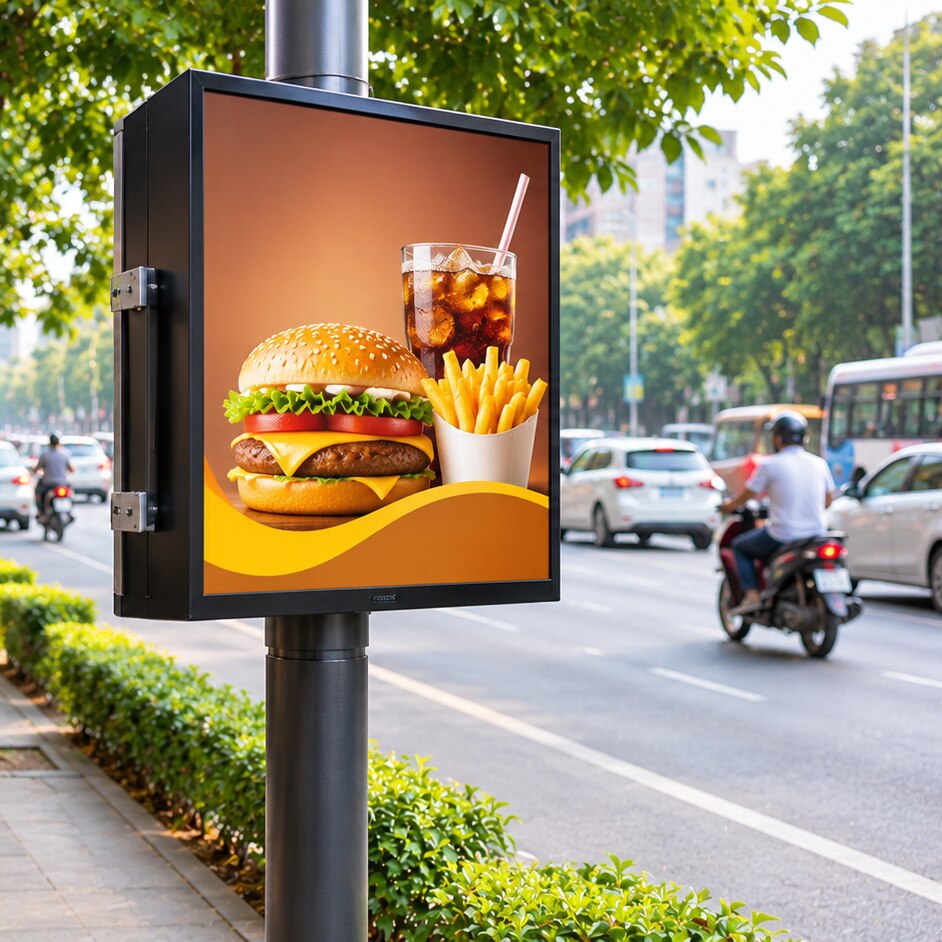
A pole kiosk works only when its message is visible from the correct approach, understood within seconds and connected to a nearby action. You will be able to decide whether the format suits your route, plan the number and spacing of units, specify readable and safe construction, and measure whether exposure produces qualified local response.
Key takeaways
- Prioritise sightlines, dwell time and pedestrian approach direction when choosing sites.
- Use one short message per kiosk and repeat the same campaign across the route.
- Specify weatherproof materials, sealed electrical parts and safe maintenance access.
- Compare qualified leads, calls and visits against the full campaign cost.
What a pole kiosk is and when it gives you an advantage
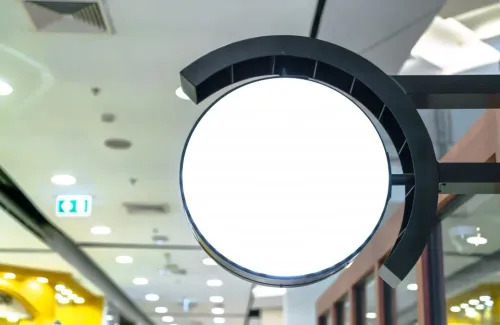
A pole kiosk definition is a compact, pole-mounted cabinet fixed beside a road or pedestrian route. A support bracket carries the cabinet and transfers wind load into the pole; display faces hold printed graphics or LED content, while an electrical enclosure contains power equipment and an access panel allows servicing.
Its two-sided or illuminated faces address traffic approaching from different directions.
| Format | Main strength | Choose it when |
|---|---|---|
| Pole kiosk | Repeated, directional exposure in a small footprint | People follow a route past several poles |
| Pylon sign | Tall visibility from a distance | One site entrance needs a landmark |
| Wall-mounted LED board | Large, changeable content | A suitable building façade faces the audience |
| Roadside hoarding | Broad creative area | You need a dominant message along an open road |
| Bus-shelter advertising | Long dwell time | Passengers wait beside the display |
| Lamp-post banner | Low-weight decorative identification | You need wayfinding or event branding, not detailed copy |
Pole kiosks give retail, hospitality, healthcare and local-service brands an advantage when customers travel repeatedly through an arterial road, junction approach, parking entrance, campus, fuel station, retail cluster or pedestrian corridor. Standardised face sizes let you replace one damaged panel and concentrate a campaign around selected catchments instead of rebuilding one large installation.
Do not choose one because a pole is available. Reject sites where parked vehicles, trees, signs or oblique angles hide the face, or where the cabinet narrows a footpath, blocks tactile access or reduces sight distance.
Check traffic direction, speed, queue length, viewing distance and dwell time, then confirm municipal permission and structural calculations for the actual pole, bracket and foundation.
How to select a pole kiosk site that people can actually see
Choose a site where people have both a clear view and a reason to respond. High-traffic locations deliver little value if vehicles pass too quickly, parked cars hide the lower face, or trees and street furniture cut the message in half.
Prioritise decision points: arterial roads near the destination, junction approaches before a turn, parking entrances, transit stops and pedestrian crossings. A directional message with a destination, arrow, distance or recognisable landmark helps people act; a brand name alone does not reduce search effort.
| Site type | Visibility advantage | Check before approval |
|---|---|---|
| Arterial road | Repeated exposure from a steady traffic stream | Record each approach direction, vehicle speed and unobstructed viewing distance |
| Junction approach | Drivers slow or choose a route before turning | Confirm the face is visible before the decision point, not after it |
| Parking entrance | Visitors are actively looking for access | Keep the kiosk outside turning paths and visible above parked vehicles |
| Transit stop or crossing | Pedestrians have dwell time to read and scan | Face the display toward waiting or crossing users without blocking sight lines |
During an audit, photograph the view from the actual stopping position and estimate the percentage of each face visible from every traffic stream. Reject a location where a kiosk narrows the footpath, blocks a tactile route, obscures a crossing or reduces sight distance; removal costs can erase the campaign’s return.
Use QR codes mainly where pedestrians wait, and pair them with a dedicated URL or offer code.
How many kiosks you need and what each message should say
For a short local route, begin with three to five kiosks: enough for recognition, repetition and a final action prompt without making every pole say the same thing. Extend the network only when the route has additional unobstructed viewing points and a consistent audience.
1. Map the route by approach direction, speed, queue length and decision points. Set kiosk spacing by viewing time, not equal pole intervals; a 100-metre gap gives a driver about 12 seconds at 30 km/h but only seven seconds at 50 km/h. Remove placements hidden by trees, parked vehicles or competing signs.
2. Build message sequencing around the journey. The first kiosk should identify the brand and category, the middle units should present one benefit or offer, and the last kiosk should direct people to the entrance, store, clinic or landing page. Repeat the brand mark on every face.
3. Use static faces when the route is fast, viewing angles are poor or power and maintenance access are limited. Choose a rotating digital display for daypart offers, event updates or multiple advertisers, but use slow transitions, high contrast and no distracting animation.
4. Give every sequence one clear call to action: “Turn left,” “Visit today,” “Book now” or “Scan for directions.” Put menus, phone numbers and conditions behind a short URL or QR code, not on the kiosk face.
Review the pole kiosk campaign after one route cycle. Shift weak units before adding more; extra exposure cannot repair a hidden or unreadable placement.
How to make a kiosk readable, durable and safe outdoors
A kiosk fails as an advertisement when drivers cannot read it before passing. Specify a readable type size for the actual viewing distance, use short lines and strong contrast, and keep essential text away from borders, brackets and access seams.
Matte faces, recessed LEDs and a visor provide contrast and glare control without making the message dull.
Set brightness as an operating range, not maximum output. Use a photocell, scheduled nighttime dimming and a commissioning check from both driver and pedestrian viewpoints; excessive nighttime visibility becomes glare, complaints and possible removal.
Treat the pole, bracket, cabinet, panel, foundation and projecting arm as one structural system. Increasing panel area increases wind moment, so obtain calculations for the actual pole and foundation under the applicable edition of IS 875 Part 3, including local wind exposure, corrosion and anchorage.
| Detail | Specify | Failure avoided |
|---|---|---|
| Electrical | Protected cables, weather-rated glands, earthing, residual-current protection where required, isolation for maintenance and drainage | Shock, short circuits and water ingress |
| Print and cabinet | UV-resistant print system, sealed edges, drainage, corrosion-resistant fixings and a rigid face | Fading, delamination and wind flexing |
| Permissions | Written municipal or road-agency approval, electrical inspection where required, and clearance checks | Forced alteration or removal |
Before fabrication, verify that the installation does not narrow the footpath, block a tactile route or crossing, reduce sight distance, or obstruct maintenance access. A previously used pole is not automatically available for advertising.
How to compare the business return with other local advertising
Calculate the campaign on delivered value, not fabrication price. Add design, permits, installation, electricity, inspections, cleaning, access equipment, face replacement, monitoring and removal, then divide the total by estimated qualified local exposure: people in the target catchment with a realistic opportunity to notice and use the offer.
| Channel | Include in total cost | Best evidence of response |
|---|---|---|
| Pole kiosk network | Production, permits, access, maintenance, replacement and removal | Store visits, unique URL visits, offer-code redemptions and matched control areas |
| Local search advertising | Media spend, landing-page work and call handling | Tracked calls, direction requests, bookings and completed enquiries |
| Bus-shelter or hoarding | Printing, site rental, installation, lighting and removal | Area-level footfall change plus coded enquiries; exposure alone is weak evidence |
Ask Pantone Media Solutions LLP for a site-by-site cost schedule rather than one blended installation figure, especially if frames, access methods or face sizes differ across poles. Standardized cassettes reduce replacement stock and installation time.
Use campaign reporting that records placement dates, creative changes and each location’s catchment. Compare store visits or enquiries before and after launch against a similar unexposed location, while separating pedestrian or traffic counts from attributable actions.
- Give each route or catchment a unique URL.
- Use a location-specific offer code at checkout or reception.
- Track calls with a dedicated number.
- Record qualified visits, not just clicks: target area, product interest, appointment, quotation or purchase.
If exposure rises but coded visits and enquiries do not, change the route, message or offer before adding more kiosks.
Frequently asked questions
What is a pole kiosk, and when does it offer an advantage?
A pole kiosk is a compact cabinet mounted beside a road or pedestrian route. It offers an advantage when repeated exposure, local direction or roadside visibility matters more than detailed information.
How do you choose a pole kiosk site people can see?
Check the viewing distance, approach direction, traffic speed, obstructions, lighting, pedestrian dwell time and whether trees, parked vehicles or street furniture block the display.
How many pole kiosks does a business need?
Choose the number based on route length, audience movement, budget and the time needed for recognition. Use repeated placements for one campaign and assign each kiosk a short, connected message.
What makes an outdoor pole kiosk readable, durable and safe?
Use high-contrast type, short copy, glare-controlled faces, weather-resistant graphics, sealed electrical components, secure brackets and an access panel that allows safe servicing.
How should you compare pole kiosk advertising with other local advertising?
Track enquiries, calls, direction requests, visits or offer redemptions, then divide the campaign cost by qualified actions and compare that figure with other local channels.